
0
Post processing: Creating a straight horizon
11 April, 2013
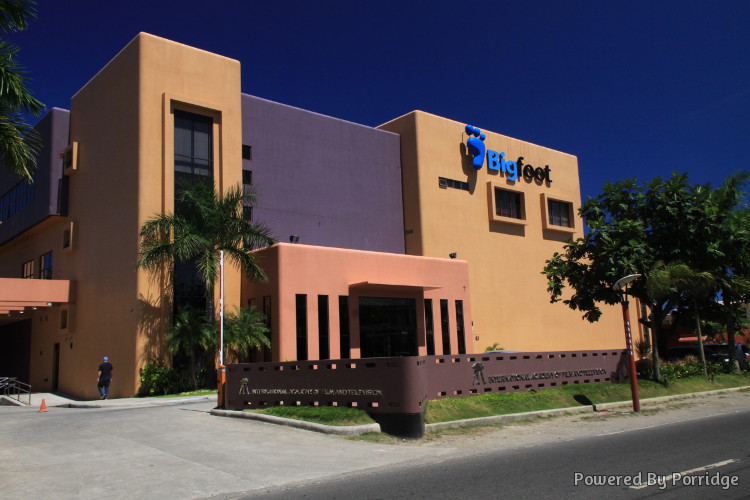
Here is an image: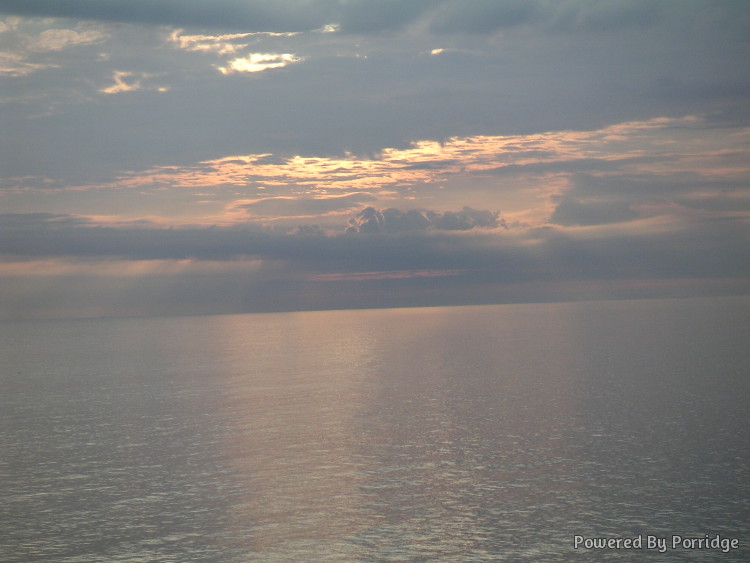 The image is not particularly interesting besides showing that if the horizon is not horizontal, it can add a big distraction. The nice thing is that it takes less than 10 seconds to correct the problem.
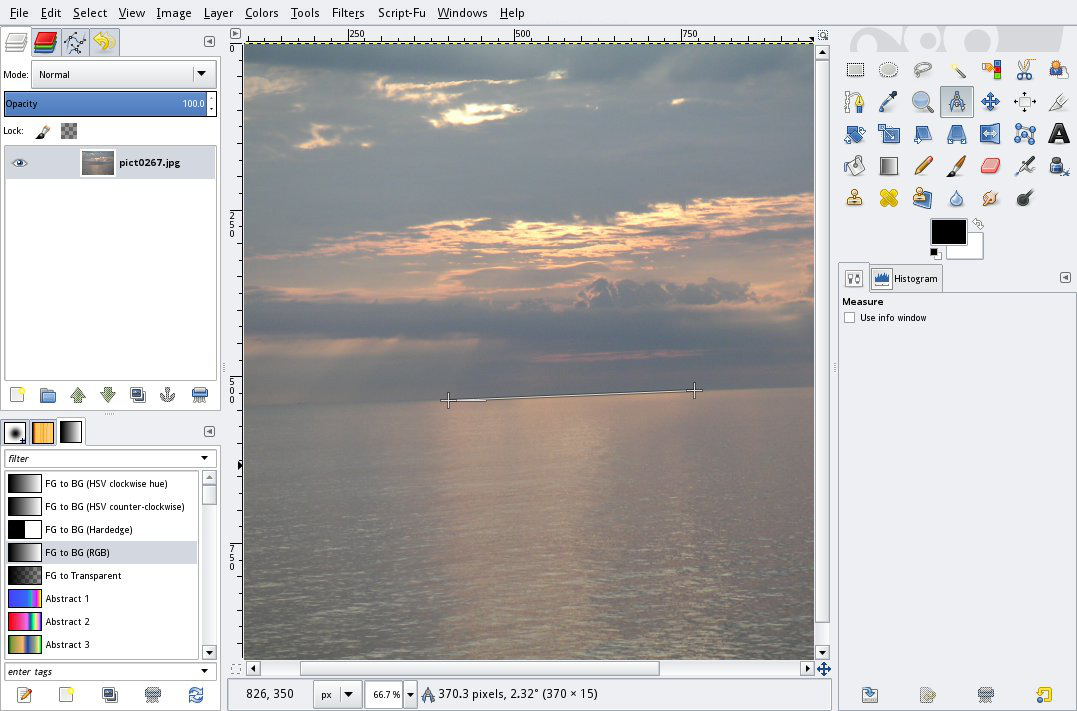
Load the image in gimp, select the measure tool (shift+M) and draw a line along the horizon and read the message on the status bar. In the example image, it is visible that the horizon is 2.3 degrees off. The next step is Layer > Transform > Arbitrary rotation... and type in 2.3 and hit ok. Done.
The image is not particularly interesting besides showing that if the horizon is not horizontal, it can add a big distraction. The nice thing is that it takes less than 10 seconds to correct the problem.
Load the image in gimp, select the measure tool (shift+M) and draw a line along the horizon and read the message on the status bar. In the example image, it is visible that the horizon is 2.3 degrees off. The next step is Layer > Transform > Arbitrary rotation... and type in 2.3 and hit ok. Done.
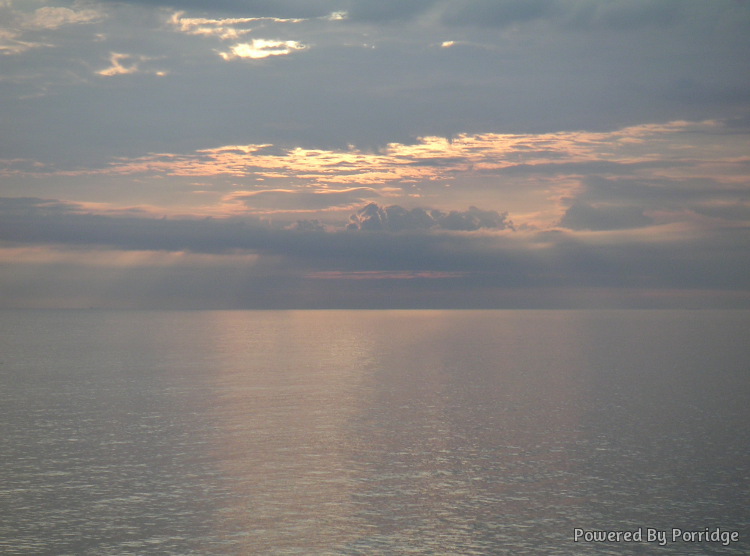
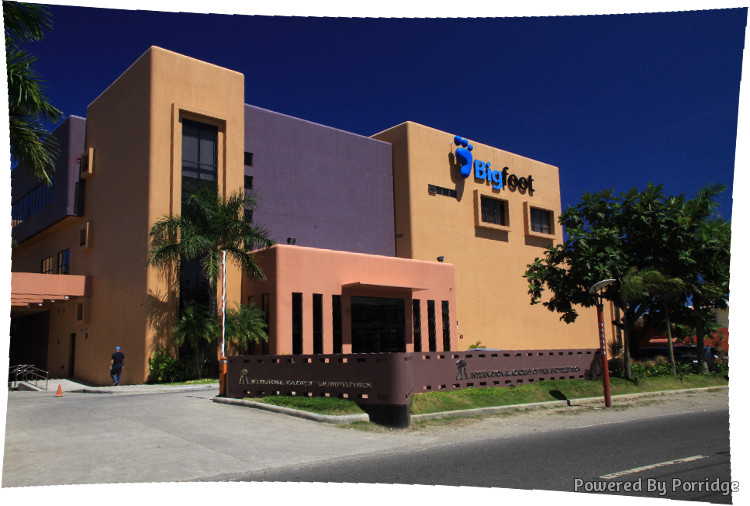
 Rotating the one and only layer in the image will add some transparent pixels in the corners. This can be fixed in some different ways, but the easiest is to make a selection that only contains parts of the original image and then selecting Image > Crop to selection to remove a small part of the image. And the final result:
1
Post processing: lens correction / perspective correction
23 March, 2013
Last week the blog fototriss had architecture and buildings as theme. Architecture and (ultra) wide angle lenses can make dramatic images, but also cause much distortion in the image. To over exaggerate a little, walls that should be parallel can appear like the sides of a pyramid.
For example one image straight from the camera taken at 21mm with a crop camera (equiv. 33mm on full frame):
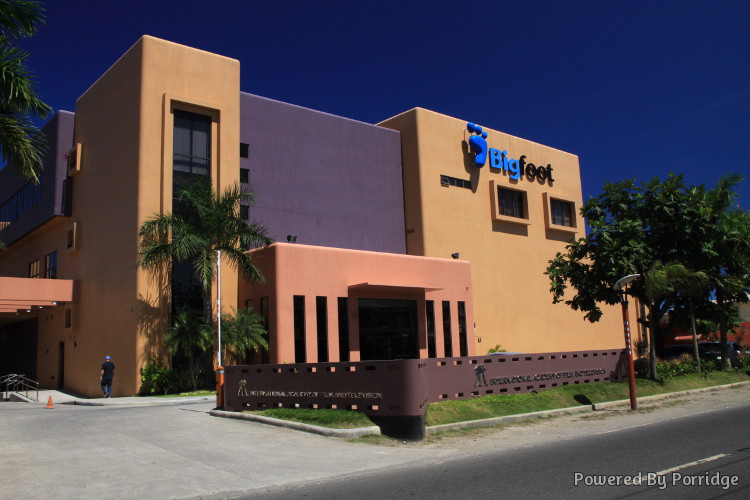
If we trace lines along the vertical walls they will intersect. That is not how the building appears in real life. If the image would have been taken at equivalent to 16-18mm on full frame, the distortion would be much larger.
With the meta data recorded in the image and the help of the lensfun library the image can be automatically adjusted. The second image is processed in GIMP, the GNU Image Manipulation Program, which is great and free alternative to Photoshop. With the plugin GimpLensfun the image is easily adjusted by selecting Filters > Enhance > Gimplensfun. The default settings should be okay if your camera/lens is recognized.
A much better result than the first image. For more advanced use or if the camera-lens combination used isn't available in lensfun, the panorama stitcher Hugin can be used. It can do perspecive correction, simulate architectural projections besides from stitching together many images and more.
The image from Hugin is not cropped compared to the one processed with GIMP and lensfun.
All the tools mentioned in the post are free and open source and part of my must-be-installed list.